
Painting the Staircase
From How to Make Concrete Basement Stairs Non-Slip · Step 4 of 5 · Video by Family Handyman
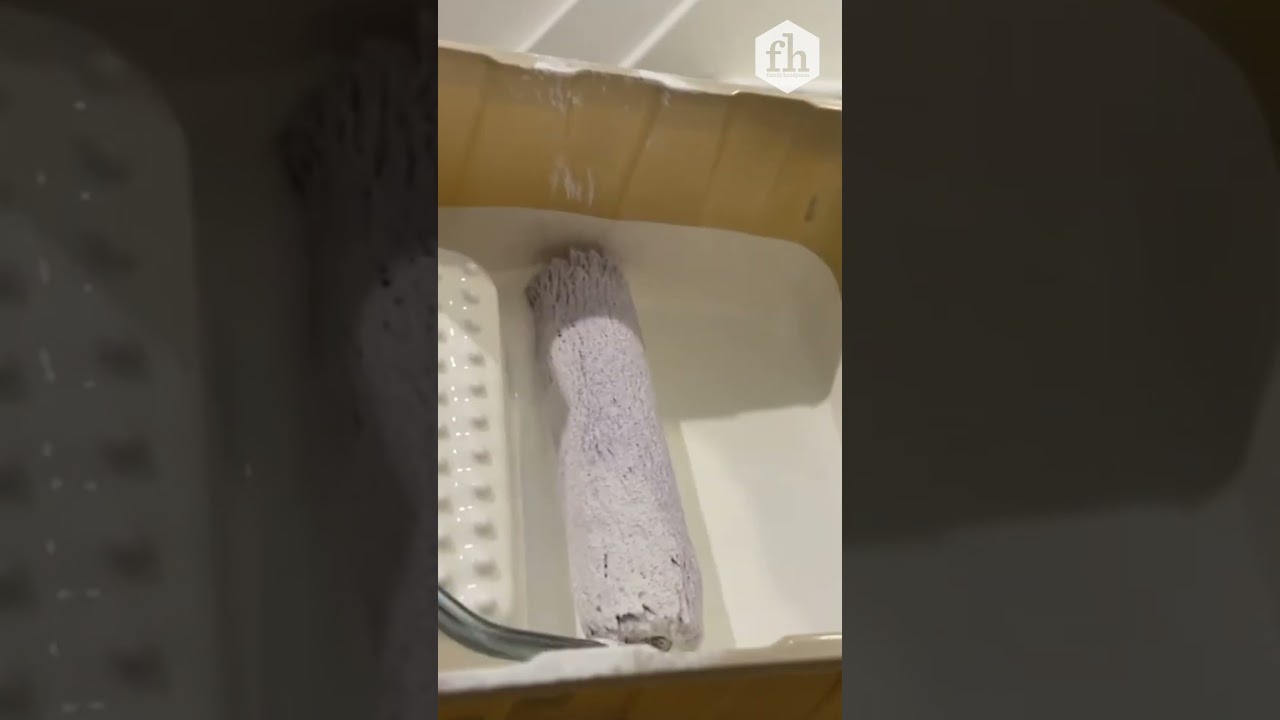
Showing 0:20–0:31 of the source video. Watch the full video with every moment.
What happens in this clip
Once the treads and risers are prepared (cleaned, filled, and ideally sanded), the painting process begins. White paint is applied to the stair elements. A paintbrush is used for precise application along the edges, corners, and where the risers meet the treads and walls. For broader flat surfaces of the risers and treads, a small roller on an extension pole is utilized to efficiently apply an even coat of paint, ensuring complete coverage and a smooth appearance. Multiple coats of paint, with adequate drying time between each, are typically required for durability and optimal finish.
Goal: This step involves applying paint to the prepared stair treads, risers, and trim, using both brushes for edges and rollers for larger flat surfaces to achieve a clean, uniform finish.
What's used
Tools
- Drop cloths
- Extension pole
- Paint roller (small)
- Paintbrush
- Painter's tape
- Roller tray
Materials
- Primer
- White paint
About the full video
This video details a staircase renovation project, starting with the demolition of existing carpet and elements, followed by preparation of the stair treads and risers (which would typically involve sanding and crack filling, though sanding is not explicitly shown). The project then moves to painting the entire staircase, installing a new jute runner, and updating railings to a modern cable design. The overall goal is to renew worn stair surfaces and enhance the aesthetic appeal and safety of the staircase.
Step 4 of 5: Apply Textured Paint
After cleaning and ensuring the stairs are dry, apply a coat of textured anti-slip paint. Use a brush for edges and a roller for the main surfaces. Apply the paint evenly, following the manufacturer's recommended application methods. Allow the first coat to dry thoroughly according to the product's instructions. Apply a second coat if a deeper texture or more durable finish is desired. Ensure proper ventilation during application and drying.
Every video in How to Make Concrete Basement Stairs Non-Slip
Step 1: Prepare the Concrete Stairs
- 1:13–1:37 Prepare the Surface
- 0:28–1:00 Prepare Rough Concrete Steps for Resurfacing
- 1:13–1:50 Apply Cleaner to Stairs
Step 2: Apply Anti-Slip Coating
- 2:27–3:10 Apply Paint to Stairs
- 0:46–0:59 Spray Clear Anti-Slip Coating
- 0:51–4:06 Apply Adhesive-Backed Anti-Slip Products
Step 3: Install Anti-Slip Tread Strips
- 0:02–0:06 Apply Anti-Slip Strip
- 0:20–0:45 Peel and Adhere Strip
- 1:12–1:19 Prepare Steps and Apply Non-Skid Strips
Step 4: Apply Textured Paint
- 2:27–3:10 Apply Paint to Stairs
- 10:24–11:30 Final Paint and Allow to Dry
- 0:20–0:31 Painting the Staircase (this video)
Step 5: Cure and Inspect
- 1:23–1:32 Allow Coating to Dry and Enjoy the Renewed Surface
- 1:23–1:28 Allow Coating to Dry
- 1:49–2:10 Allow Coating to Cure and Verify Non-Slip Property
How to Make Concrete Basement Stairs Non-Slip
This project outlines methods to improve the slip resistance of concrete basement stairs, enhancing safety. Options include applying anti-slip coatings, installing tread strips, or using textured paints.
Read the full guide Browse all guides
Planning this project? Shop Oak Valley Designs.

Subscribe for exclusive updates
Be the first to know about promotions, new products, and sales.