
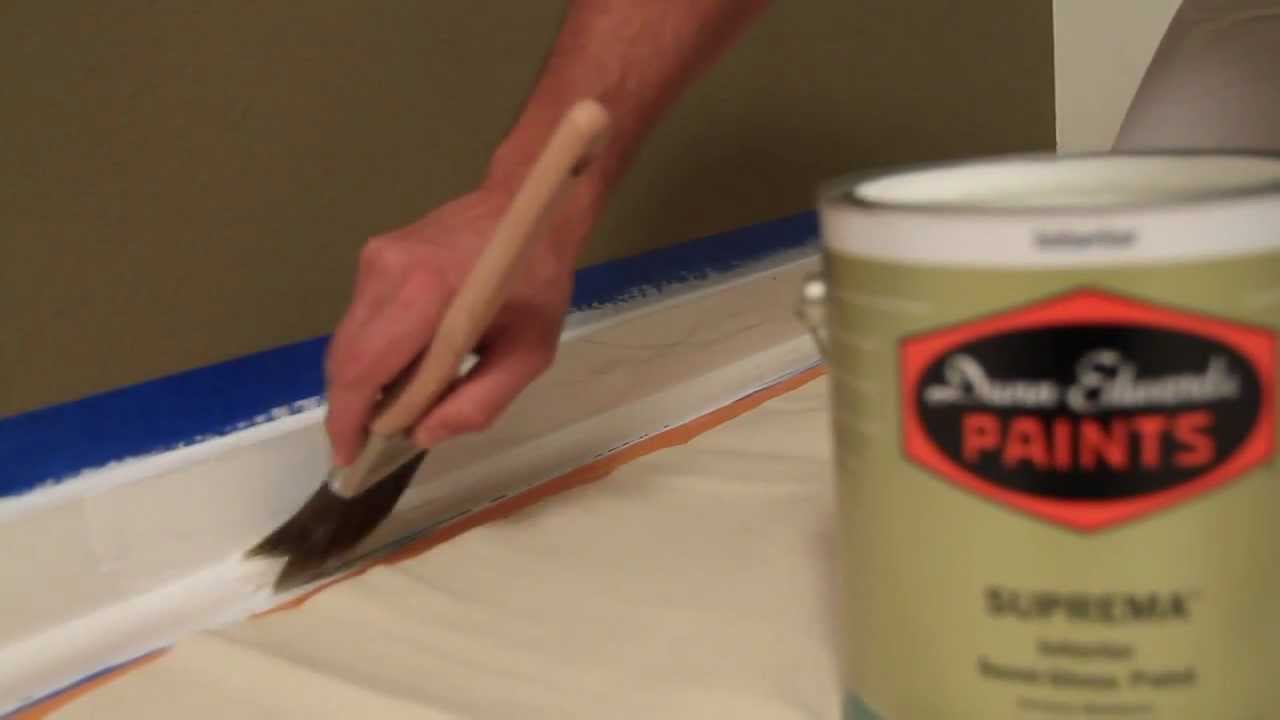
Stair Skirt Boards and Trim Refresher
About This Guide
This project involves removing old stair skirt boards and trim, preparing the wall and stairs, and installing new skirt boards and trim for a refreshed look. It includes measuring, cutting, fitting, fastening, and finishing the new trim pieces.
Assembled from 12 on-camera clips by 10 independent creators demonstrating these exact steps.
Tools & Materials
Wellco 24 in. x 48 in. x 0.236 in.(6mm) PVC Waterproof Foam Sheet White Plastic Sheet, DIY Making, (1-Pack)
Aoibox 1800-Watt Water Ionic Hair Dryer with Magnetic Nozzle 2 Speed and 3 Heat Settings Powerful Low Noise Fast Drying
CROCODILE CLOTH Case Paint Wipes Pre-Moistened Heavy-Duty Wet Cloths Cleaning Wipes (6 x 100-Pack)
Wellco 24 in. x 48 in. x 0.236 in.(6mm) PVC Waterproof Foam Sheet White Plastic Sheet, DIY Making, (1-Pack)
Aoibox 1800-Watt Water Ionic Hair Dryer with Magnetic Nozzle 2 Speed and 3 Heat Settings Powerful Low Noise Fast Drying
CROCODILE CLOTH Case Paint Wipes Pre-Moistened Heavy-Duty Wet Cloths Cleaning Wipes (6 x 100-Pack)
Steps
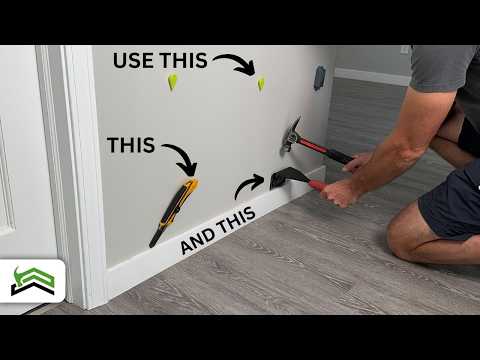
Remove Old Skirt Boards
Begin by inserting a putty knife between the skirt board and the wall to break any paint seal. Then, slide a pry bar into the gap and gently lever the skirt board away from the wall, working in sections. Use a second putty knife or a thin piece of wood to protect the wall surface from the pry bar. Continue this process along the entire length of the skirt board and any associated trim until it is completely detached.
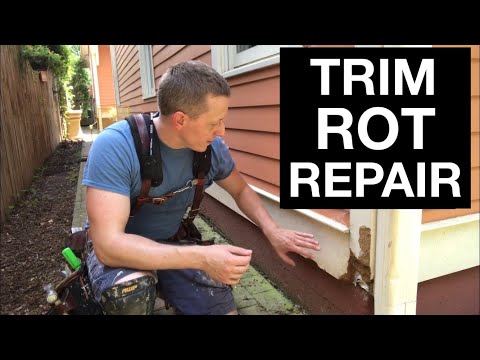

Clean and Prepare Wall Surface
Wipe down the wall with a damp cloth to remove dust and debris. Inspect the wall for any dents, gouges, or loose paint. Use a drywall putty or wood filler to fill any nail holes left from the old trim. Once the filler is dry, sand it smooth with fine-grit sandpaper. Scrape away any loose paint and feather the edges.
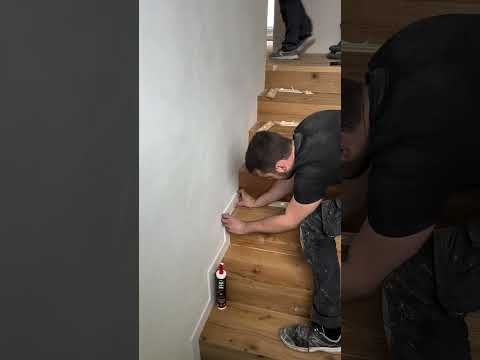
Measure and Cut New Skirt Boards
Measure the length of the wall where each skirt board will be installed. Account for any angles at the top or bottom of the stairs. Use a tape measure for accuracy. Transfer these measurements to your new skirt board material and mark your cut lines. Use a miter saw or a hand saw to make precise cuts. For angled cuts at the base or top of the stairs, use a miter saw or protractor to set the correct angle.
Dry Fit New Skirt Boards
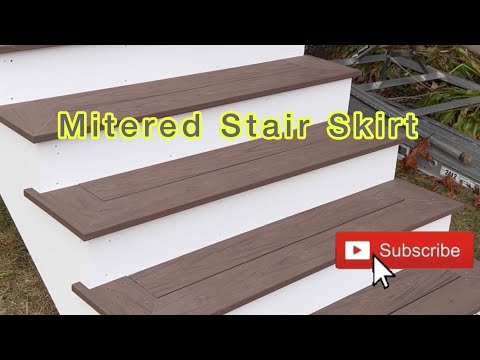
Hold each cut skirt board in its intended position along the wall. Check for gaps, awkward angles, or areas where the board doesn't sit flush against the wall or stairs. Make any necessary adjustments by trimming small amounts from the edges or ends. This step is crucial for a professional finish and helps identify any measurement errors.

Install New Skirt Boards
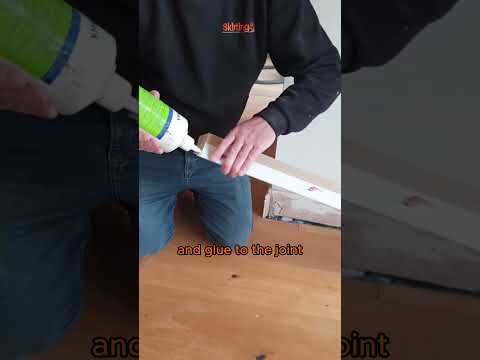
Apply a bead of construction adhesive to the back of the skirt board where it will contact the wall studs. Position the skirt board against the wall, ensuring it is flush and aligned correctly. Secure the board by driving finish nails through it into the wall studs at regular intervals (e.g., every 12-16 inches). Use a nail gun or a hammer and finishing nails. Ensure nails are driven slightly below the surface for later filling.
Install New Trim (Base Shoe/Quarter-Round)
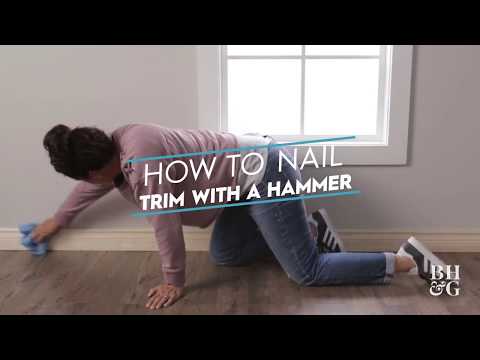
Measure and cut your chosen trim (e.g., base shoe or quarter-round) to fit the length of the skirt board. Apply a small amount of construction adhesive to the back of the trim. Press the trim into place along the bottom edge of the skirt board and against the floor. Secure it with finish nails, ensuring they are placed at an angle to go into the skirt board and not the floor sub-straight if possible. Drive nails just below the surface.

Sand and Prep for Painting
Once the wood filler is dry, lightly sand all the filled nail holes and any rough spots on the new skirt boards and trim with fine-grit sandpaper. The goal is to create a smooth surface for painting. After sanding, wipe down all surfaces with a tack cloth or a slightly damp cloth to remove all dust.

Prime and Paint
Apply a coat of high-quality primer to all new trim and skirt boards. Allow the primer to dry completely. Lightly sand any areas that feel rough after priming. Apply your chosen paint color in thin, even coats. Allow each coat to dry thoroughly before applying the next. Typically, two coats of paint are sufficient for good coverage.
Frequently Asked Questions
Is this project truly beginner-friendly, and can it really be done in 3 days?
While listed as beginner, this project requires patience and precision, especially with measuring and angled cuts. A 3-day estimate is feasible if you dedicate full days to the work, but expect it to take longer if you're new to these techniques or have limited time each day. Proper preparation and dry fitting are key to saving time and frustration.
What are the most essential tools I'll need for this project, beyond basic hand tools?
A molding pry bar and nail puller are crucial for safely removing old trim without damaging the wall. A miter saw is highly recommended for accurate angled cuts on the new skirt boards and trim, especially for staircase stringers. Don't forget a reliable tape measure and a caulk gun for construction adhesives.
Why would I choose PVC trim boards over traditional wood for stair skirt boards and trim?
PVC trim boards, like the suggested Veranda PVC, offer excellent moisture resistance and durability, making them less prone to warping or rotting than wood. They are also easier to clean and don't require sealing before painting. However, they can be more expensive and require specific fasteners or adhesives in some cases.
What are common mistakes to avoid when measuring and cutting the new skirt boards for stair angles?
The most common mistake is inaccurate angle measurement, leading to gaps. Use an angle finder or create templates from cardboard for precise cuts, especially where the skirt board meets the stair treads and risers. Always measure twice and cut once, making test cuts on scrap material if unsure.
When should I use construction adhesive versus finish nails for installing the new skirt boards and trim?
Construction adhesive (like Titebond) provides a strong, long-lasting bond and helps secure pieces tightly to the wall, reducing future movement. Finish nails are used to hold the pieces in place while the adhesive cures and provide additional structural support. For trim, nails might be sufficient, but for skirt boards, a combination is best for durability.
How do I handle small gaps between the newly installed skirt board or trim and the wall/stairs?
For small gaps, use paintable caulk to fill them before priming and painting. Ensure the caulk is applied neatly and wiped smooth for a seamless finish. For larger gaps, wood filler (like Varathane) or a small strip of trim might be necessary, followed by sanding and caulking.
What safety precautions should I take, especially when removing old skirt boards and trim?
Always wear safety glasses to protect your eyes from flying debris or nails. Use gloves to prevent splinters and cuts. Be mindful of hidden electrical wires or plumbing behind old trim, and avoid excessive force during removal to prevent wall damage. Ensure the area is well-lit and clear of tripping hazards.
Questions about your project or which product fits? Oak Valley Designs's team is happy to help. Mon–Fri 9–5 ET



Subscribe for exclusive updates
Be the first to know about promotions, new products, and sales.