

How to Get a Hardwood Look on Carpeted Stairs
About This Guide
This project outlines the process of removing carpet from stairs and installing a hardwood finish to achieve a hardwood look. It involves removing existing carpet, preparing the stair treads, and installing new hardwood treads and risers.
Tools & Materials
Steps

Remove Carpet and Padding
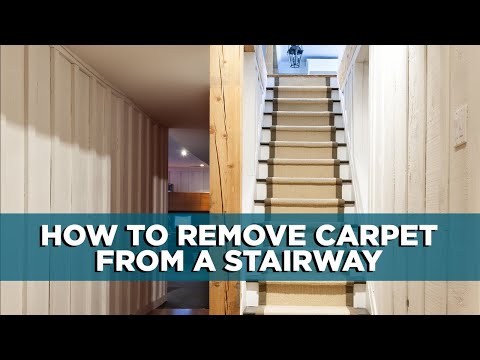
Begin by using a utility knife to cut the carpet into manageable strips. For each strip, lift the carpet and padding off the stair tread and riser. Roll up the carpet and padding tightly as you remove it. This process should be done methodically from the top stair to the bottom.
Remove Staples and Nails
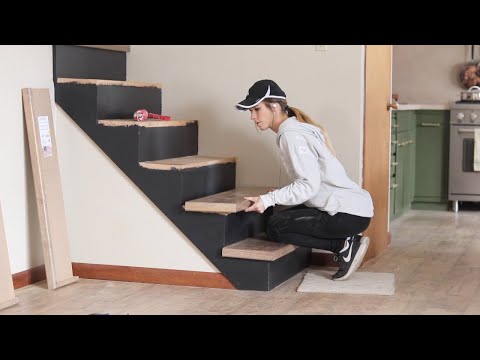
After the carpet and padding are removed, inspect the stair treads and risers for any remaining staples or nails. Use a pair of pliers to grip and pull out any visible staples. For nails, a pry bar will be most effective. Ensure all fasteners are removed to create a smooth surface for the new hardwood.

Inspect and Repair Stair Structure
Thoroughly inspect the existing stair treads and risers. Look for any signs of rot, cracks, loose boards, or other damage. Small cracks can often be filled with wood filler. Larger damaged areas may require cutting out the section and replacing it with a new piece of wood. Ensure all repairs are securely fastened and flush with the surrounding surface.

Clean and Sand Stair Surfaces
After repairs, vacuum the stairs thoroughly to remove any dust or debris. Wipe down the surfaces with a tack cloth or a slightly damp rag. Next, use an orbital sander with medium-grit sandpaper (e.g., 80-120 grit) to sand the entire surface of each tread and riser. This will remove any remaining residue and create a uniform, smooth surface. Follow up with fine-grit sandpaper (e.g., 180-220 grit) for a smoother finish. Clean off all sanding dust thoroughly.
Measure and Cut Hardwood Treads and Risers
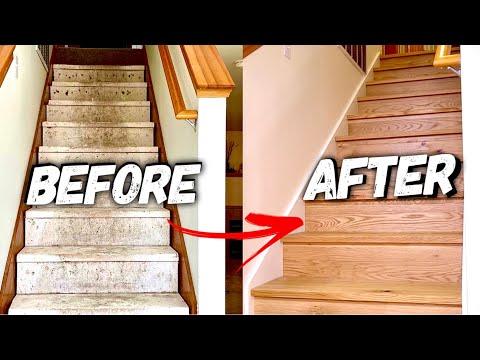
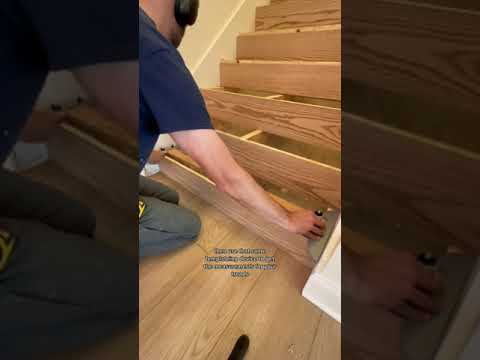
Measure the length of each stair tread from wall to wall or from nosing to nosing if applicable. Measure the height of each riser. Use these measurements to cut your hardwood planks. For treads, you may need to join multiple boards or use a wider plank. Ensure your cuts are straight and accurate. If your stairs have a bullnose or specific nosing profile, account for this in your measurements and cuts.

Install Hardwood Risers
Apply a bead of construction adhesive along the back of the hardwood riser where it will meet the existing stair structure. Position the riser against the front of the stair. Ensure it is perfectly vertical (plumb) and flush with the edges of the tread above. Secure the riser by driving finishing nails or screws through the back of the riser into the stair structure. Use a nail gun for efficiency if available. If there's an overhang, ensure it's even.
Install Hardwood Treads
Apply construction adhesive to the top of the riser and the front edge of the stair stringer where the tread will rest. Carefully place the hardwood tread onto the stair, ensuring it is flush with the riser and that the nosing (if applicable) extends properly over the riser. Secure the tread by driving finishing nails or screws through the tread into the stair stringers and riser from the top. Predrill holes if necessary to prevent splitting the hardwood. Ensure the tread is level and firmly attached.
Install Stair Nosing (if applicable)
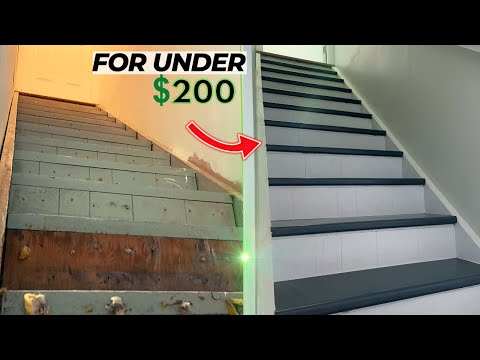
Measure and cut the stair nosing to fit the front edge of each tread. Apply construction adhesive to the underside of the nosing and to the front edge of the tread. Press the nosing firmly into place, ensuring it aligns with the tread and creates a clean overhang. Secure the nosing with finishing nails or screws, driving them through the nosing into the tread and riser. Be careful not to split the wood.
Fill Nail Holes and Gaps
Using a putty knife, apply wood filler to any nail holes, screw holes, or small gaps in the hardwood treads and risers. Press the filler firmly into the voids. Smooth the excess filler flush with the wood surface using the putty knife. Allow the wood filler to dry completely according to the manufacturer's instructions.

Sand Repaired Areas and Final Surface
Once the wood filler is completely dry, use a sanding block or fine-grit sandpaper (220 grit) to gently sand down the filled areas until they are flush with the surrounding wood. Then, lightly sand the entire surface of all treads and risers to ensure a uniform smoothness. Remove all sanding dust thoroughly with a vacuum and tack cloth.
Apply Finish (Stain and Sealant)
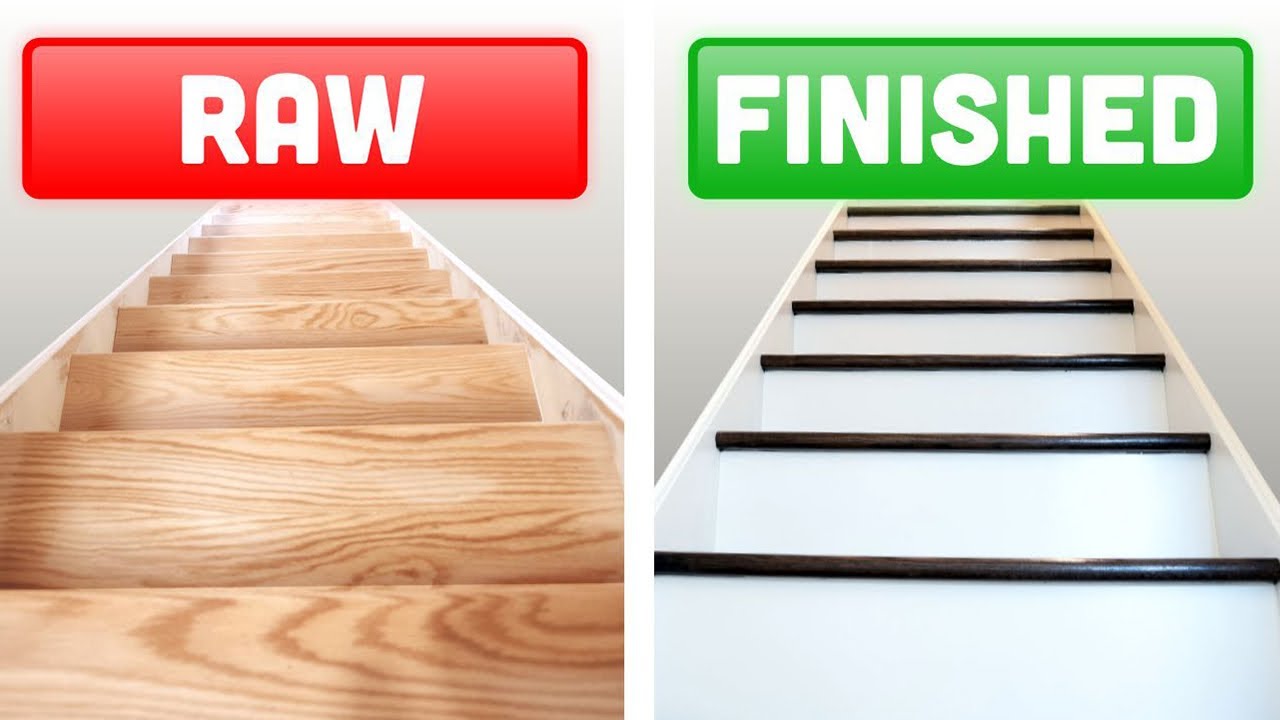
If staining, apply the stain evenly with a brush or cloth, following the wood grain. Wipe off excess stain as per manufacturer instructions. Allow the stain to dry completely. Once dry, apply the first coat of sealant (e.g., polyurethane). Allow it to dry thoroughly, then lightly sand with very fine-grit sandpaper (320 grit or higher) and wipe clean. Apply subsequent coats of sealant, repeating the light sanding and cleaning process between each coat for optimal smoothness and durability. Typically, 2-3 coats are recommended for staircases.
Questions about your project or which product fits? Oak Valley Designs's team is happy to help. Mon–Fri 9–5 ET
Related Guides
See All
How to Update Rental Stairs with Removable Carpet Treads
How to Update a Spiral Staircase

How to Put Carpet Treads on Already-Carpeted Stairs

How to Fix Popping Noises from Adhesive Carpet Treads on Wood Stairs

Subscribe for exclusive updates
Be the first to know about promotions, new products, and sales.