
Install the Tread and Nosing Components
From How to Get a Hardwood Look on Carpeted Stairs · Step 7 of 11 · Video by MrYoucandoityourself
Showing 0:49–2:35 of the source video. Watch the full video with every moment.
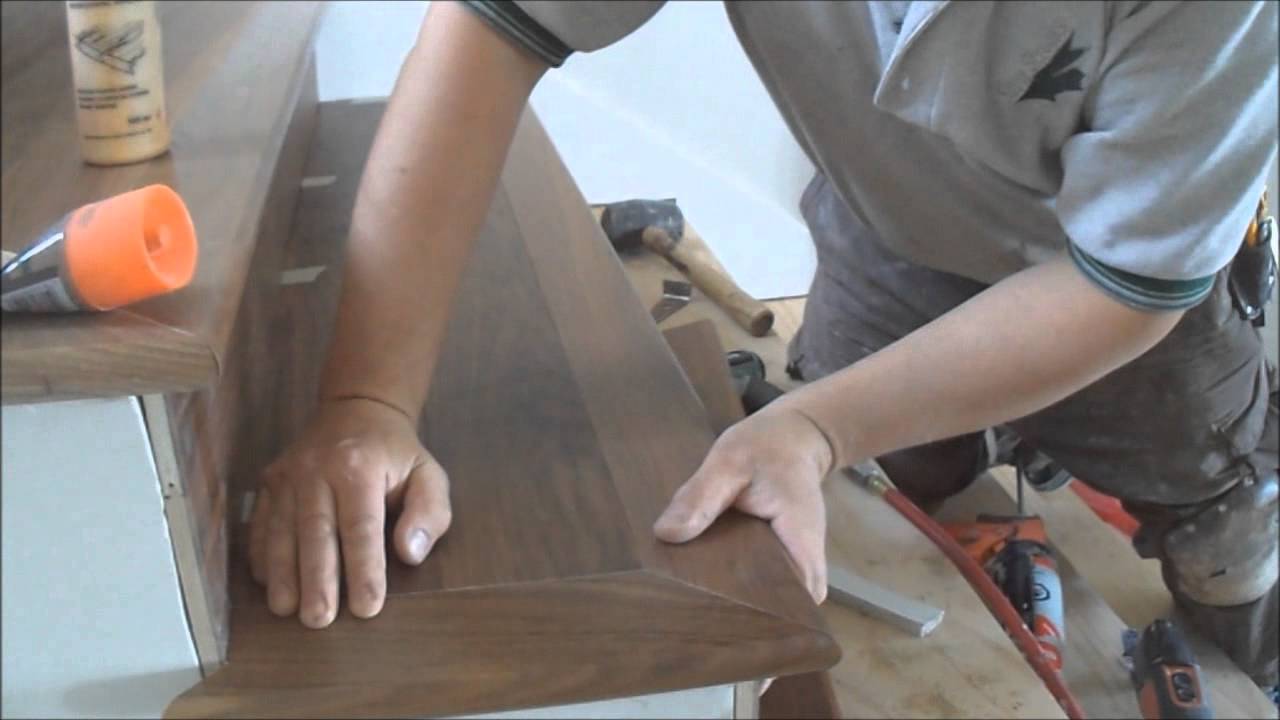
What happens in this clip
Following the riser installation, focus on the tread and nosing for each step. If your tread requires multiple hardwood planks to cover its width, interlock them using wood glue on the tongue and groove joints for enhanced stability. Next, apply construction adhesive in a wavy pattern across the entire plywood sub-tread. Carefully position the assembled hardwood tread onto the adhesive, making sure it fits snugly against the installed riser and aligns correctly along the open side of the staircase. Tap the tread gently with a rubber mallet to ensure full contact and a tight fit. The video demonstrates cutting angled flooring pieces with a utility knife to fit the open side. Finally, install the nosing: apply wood glue to its groove (or tongue) and construction adhesive to the edge of the sub-tread and the top of the riser. Position the nosing, tap it with a rubber mallet, and blind-nail it through the tongue into the sub-tread, or face-nail if necessary (ensuring nails are counter-sunk and later filled). Use shims or small wedges to hold all components tightly in place while the adhesive cures.
Goal: Securely install the hardwood tread surface and its associated nosing.
What's used
Tools
- Air Compressor
- Hardwood Flooring Planks
- Engineered hardwood planks
- Hardwood Nosing
- Milled hardwood lumber
- Pneumatic Nail Gun Hitachi
- Floor stapler/nailer
- Rubber Mallet
- ensuring a tight fit without damaging the wood.
- Shims/Wedges
- Construction shims
- Utility Knife
- Circular saw
- especially for angled sections.
Materials
- Construction Adhesive Loctite PL Premium 3X Stronger
- Titebond PROvantage Construction Adhesive
- Finish Nails
- Flooring cleats
- primarily for blind-nailing.
- Wood Glue
- Polyurethane wood glue
About the full video
This project provides a comprehensive guide on installing hardwood flooring, including custom nosing, risers, and treads, onto an open-sided staircase. It covers the essential steps of precise measuring, cutting, adhesive application, and secure fastening techniques to achieve a professional and durable finish.
Step 7 of 11: Install Hardwood Treads
Apply construction adhesive to the top of the riser and the front edge of the stair stringer where the tread will rest. Carefully place the hardwood tread onto the stair, ensuring it is flush with the riser and that the nosing (if applicable) extends properly over the riser. Secure the tread by driving finishing nails or screws through the tread into the stair stringers and riser from the top. Predrill holes if necessary to prevent splitting the hardwood. Ensure the tread is level and firmly attached.
Every video in How to Get a Hardwood Look on Carpeted Stairs
Step 1: Remove Carpet and Padding
- 0:04–0:34 Remove Old Carpet and Padding
- 0:21–0:50 Remove the Carpet
- 0:44–2:00 Remove Old Carpet
Step 2: Remove Staples and Nails
- 0:31–0:55 Remove Tack Strips and Staples
- 0:13–0:38 Remove Carpet and Prep for Installation
- 1:19–1:49 Remove Staples and Protruding Nails
Step 3: Inspect and Repair Stair Structure
- 0:09–0:14 Repair and Prepare Stair Structure
- 1:40–2:44 Prepare Surface by Filling Holes
- 3:59–6:57 Replace Damaged Stair Treads or Risers
Step 4: Clean and Sand Stair Surfaces
- 1:05–1:18 Vacuum Dust and Perform Fine Sanding
- 0:51–0:57 Strip Old Finish from Tread Surfaces
- 0:37–0:41 Sand the Staircase
Step 5: Measure and Cut Hardwood Treads and Risers
- 6:09–11:07 Measure and Cut Treads
- 0:43–0:52 Measure and Cut New Treads
- 3:40–6:00 Measure and Cut Risers
Step 6: Install Hardwood Risers
- 0:35–0:46 Install the Riser Boards
- 2:49–3:19 Install Retro Risers
- 3:55–5:35 Cut and Install Stair Risers
Step 7: Install Hardwood Treads
- 10:00–11:40 Install Hardwood Treads and Risers
- 0:49–2:35 Install the Tread and Nosing Components (this video)
- 2:35–4:25 Secure New Stair Treads
Step 8: Install Stair Nosing (if applicable)
- 4:41–5:53 Cut and Install Nosings
- 0:37–0:41 Install Stair Nose Trim
- 13:39–14:45 Measure and Install Stair Nosing
Step 9: Fill Nail Holes and Gaps
- 16:00–16:30 Apply Wood Filler for Finishing Touches
- 0:55–1:21 Apply Wood Filler to Blemishes
- 0:07–0:25 Inspect and Fill Imperfections
Step 10: Sand Repaired Areas and Final Surface
- 2:44–3:20 Sand Surfaces and Control Dust
- 1:21–1:35 Sand and Clean Stairs
- 1:47–2:00 Fill and Sand Risers
Step 11: Apply Finish (Stain and Sealant)
- 0:45–0:59 Apply Protective Topcoat
- 11:09–11:34 Apply Protective Wood Top Coat
- 2:01–2:44 Apply Polyurethane Sealer
How to Get a Hardwood Look on Carpeted Stairs
This project outlines the process of removing carpet from stairs and installing a hardwood finish to achieve a hardwood look. It involves removing existing carpet, preparing the stair treads, and installing new hardwood treads and risers.
Read the full guide Browse all guides
Planning this project? Shop Oak Valley Designs.

Subscribe for exclusive updates
Be the first to know about promotions, new products, and sales.